Searching the stores I couldn’t find any decent looking faux carrots to go with my Easter decor, so I picked up some supplies from CuriousCountryCreations.com and came up with my own… and of course, I made a tutorial for all of you, so you can make your own fake carrots too! Better yet, they’re super easy to make!
First, gather your supplies. You’ll need a mini bundle of raffia in orange and hunter green, a sheet of cardstock paper, scissors, and a hot glue gun.
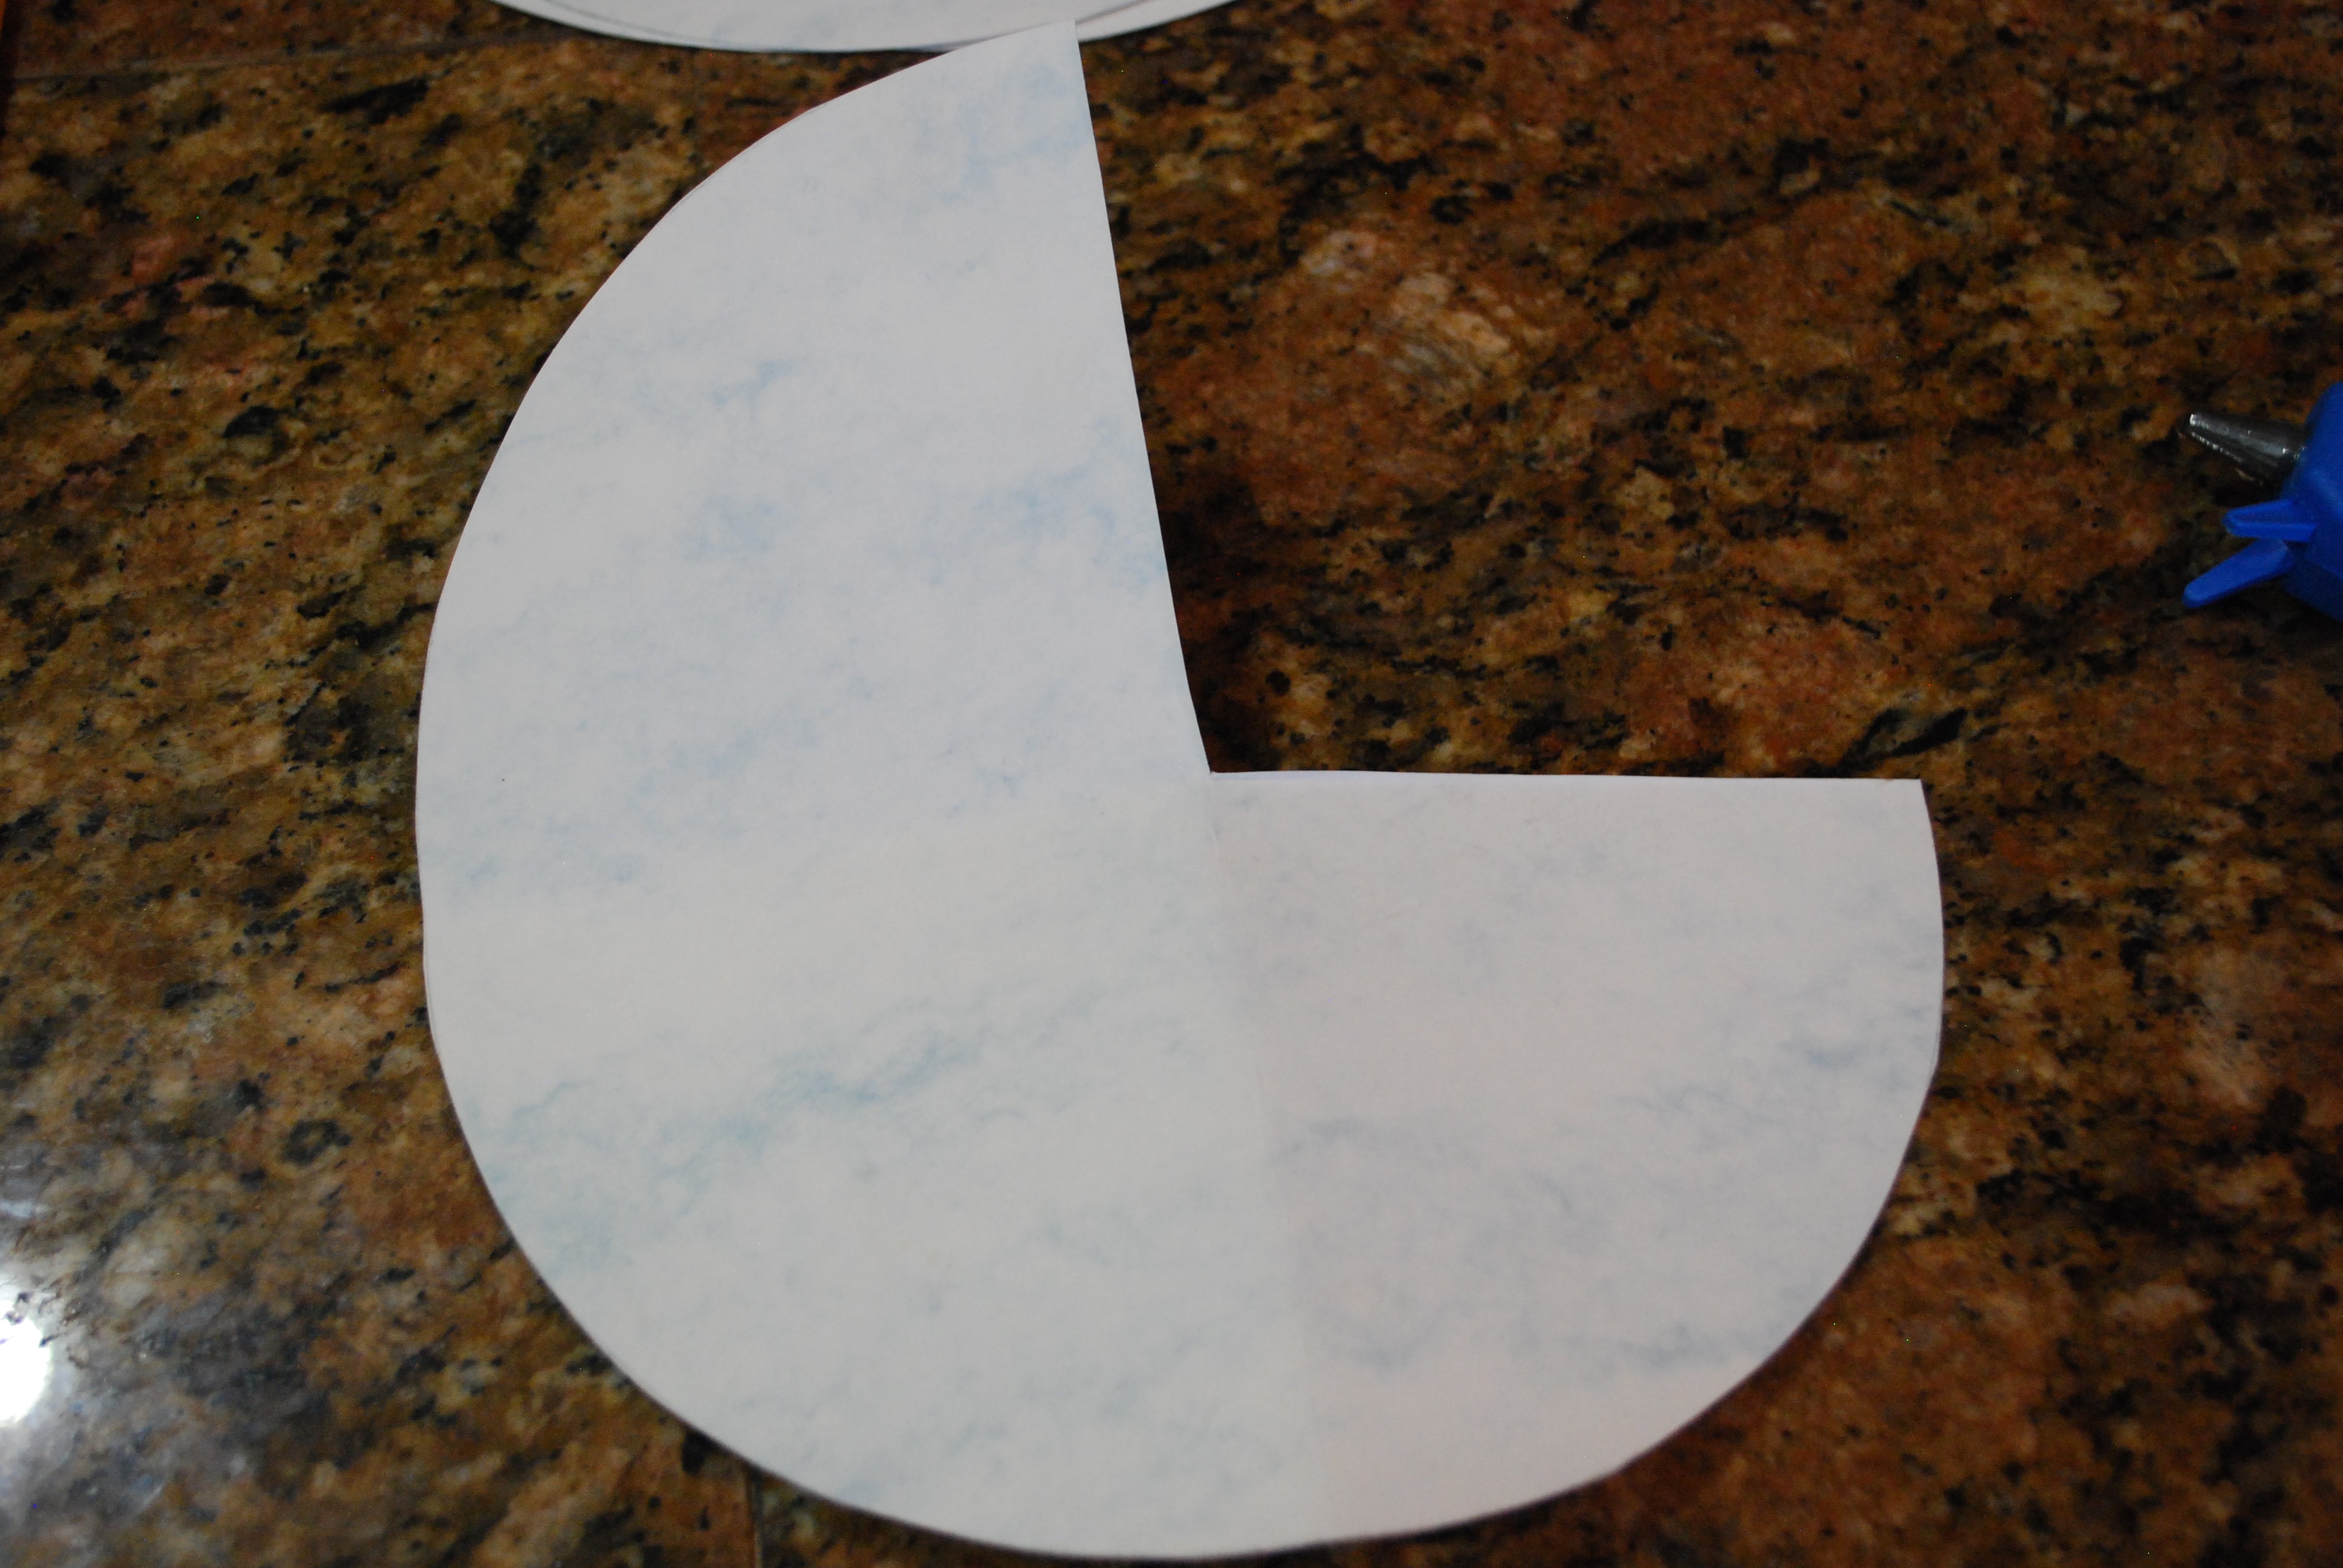
Cut out a circle (I traced a soup bowl) from the cardstock. Then fold the circle in half and half again to get four equal quarters.
Cut one quarter of the circle out for each carrot you want to make.
Roll up the quarter circle into a cone and secure it with hot glue. I made my carrots pretty narrow, but you can loosen up the cone for fatter carrots if you want.
Take 4-5 strands of orange raffia and secure them to the tip of the cone with hot glue.
Then wrap and glue the raffia (I kept the glue on the seam-side of the cone), until you cover the whole cone. Keep wrapping the raffia around the open side of the cone, making the opening smaller by gluing the raffia towards the middle.
Now take 5 or 6 strands of green raffia and cut them into about 7 inch long sections, stacked together. Then fold the green raffia in half and hold it while you place glue inside the orange carrot cone.
I just used hot glue around the inside of the cone, about 2 inches deep. Push the folded green raffia inside the cone and carefully press it into the hot glue (don’t burn your fingers!).
And there you have it– your very own faux Easter carrot!
Repeat the process to make as many carrots as your bunny needs and enjoy your spring decoration!
Happy Crafting!


